Console
prodigenr::setup_project("~/Desktop/LearningR")Session objectives:
Time: ~8 minutes.
This seems so basic, how files are organized on computers. We literally work with files all the time on computers. But consider, how do you organize them? Take some time to discuss and share with your neighbour.
RStudio helps us with managing projects by making use of R Projects. RStudio R Projects make it easy to divide your work projects into a “container”, that have their own working directory (the folder where your analysis occurs), workspace (where all the R activity and output is temporarily saved), history, and documents.
File synchronizing and backup services like OneDrive or Dropbox are super common. Unfortunately, they also can be a major source of frustration and challenge when working with data analysis projects. This is mainly due to they way the synchronizing, by constantly looking at changes to files and then synchronizing when a change occurs. When doing data analysis, especially as you get more advanced and use reproducible documents and version control systems, changes to files can happen very often and very quickly. This can essentially cause these services to “spasm” and may overwrite the changes that are happening. Whenever possible, always save your work on your computer and not on these services.
There are many ways one could organise a project folder. We’ll be setting up a project folder and file structure using prodigenr We’ll use RStudio’s “New Project” menu item under:
File -> New Project.. -> New directory -> Scientific Analysis Project using prodigenrWe’ll call the new project LearningR. Save it on your Desktop/. See Figure 5.1 for the steps to do it:
You can also type the below function into the Console, but we won’t do that in this session.
Console
prodigenr::setup_project("~/Desktop/LearningR")Just a reminder, when we use the :: colon here, we are saying:
Hey R, from the prodigenr package use the
setup_projectfunction.
That way, we are directly requesting R to look in the prodigenr package and use the setup_project() function. We do this because we want to be explicit about what we want to use and since we don’t need to load the full package.
After we’ve created a New Project in RStudio, we’ll have a bunch of new files and folders.
LearningR
├── R
│   └── README.md
├── data
│   └── README.md
├── data-raw
│   └── README.md
├── doc
│   └── README.md
├── .gitignore
├── DESCRIPTION
├── LearningR.Rproj
├── README.md
└── TODO.md
This forces a specific and consistent folder structure to all your work. Think of this like the “Introduction”, “Methods”, “Results”, and “Discussion” sections of your paper. Each project is then like a single manuscript or report, that contains everything relevant to that specific project. There is a lot of power in something as simple as a consistent structure. Projects are used to make life easier. Once a project is opened within RStudio the following actions are automatically taken:
Before moving on, let’s go over a bit about how R works, and what the “R session” means. An R session is the way you normally interact with R, where you would write code in the Console to tell R to do something. Normally, when you open an R session without an R Project, the session defaults to assuming you will be working in the ~/Desktop or ~ (your Home folder) location. But this location isn’t where you actually work. You normally work in the folder that has your R scripts or data files. The assumption with R Projects on the other hand, is that the R session working directory should be where the R Project is, since that is where you have your R scripts and data files.
Each R project is designated with a .Rproj file. This file contains information about the file path and various metadata. As such, when opening an R project, you need to open it using the .Rproj file.
A project can be opened by either double clicking on the .Rproj from your file browser or from the file prompt within R Studio:
File -> Open Projector
File -> Recent Project.. -> LearningRWithin the project we created, there are several README files in each folder that explain a bit about what should be placed there. Briefly:
doc/ directory (including R Markdown and Quarto files
data/ directory or in data-raw/ for the raw data. We’ll explain the data-raw/ folder and create it later in the lesson.R/ directory._ or - are recommended to be used instead of a space, though using - tends to be more commonly used.Since we’ll be using Git for version control in Chapter 6, which we highly recommended to use for any project, we need to add Git to our newly created project by typing in the R Console while in the newly created LearningR project:
Console
prodigenr::setup_with_git()This will add the .gitignore file to the project as well as to tell Git to track our project. We’ll cover this more later.
It might seem so basic, but how you name your files can have a huge impact on how easy it is for others, yourself in the future, as well as computers, to work on your project.
Take some time to think about file naming. Look at the list of file names below. Which file names are good names and which aren’t? We’ll discuss afterwards why some are good names and others are not.
fit models.R
fit-models.R
foo.r
stuff.r
get_data.R
Manuscript version 10.docx
manuscript.docx
new version of analysis.R
trying.something.here.R
plotting-regression.R
utility_functions.R
code.RNow that we’ve created a project and associated folders, let’s add some more options to the project. One option to set is to ensure that every R session you start with is a “blank slate”, meaning no old data are automatically imported into the Environment. This is done by typing the following code in the Console:
Console
usethis::use_blank_slate("project")Now, let’s add one R script that we will use in multiple sessions:
Console
usethis::use_r("learning")The usethis::use_r() command creates R scripts in the R/ folder. As you may tell, the usethis package can be quite handy. For the first few sessions, we will be working the R scripts and then later will move over to Quarto files instead. Why? Working with R, you will be doing a lot of coding and writing in both types of files, so we want you to get practice using both.
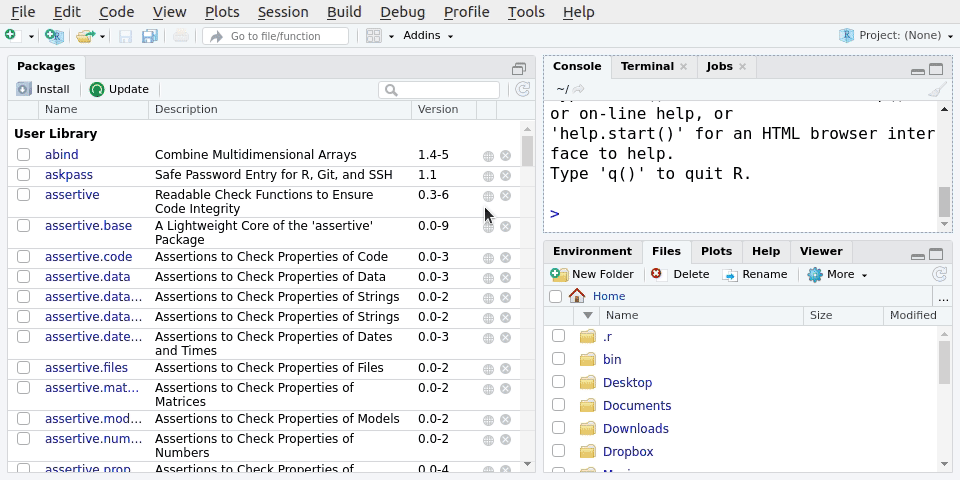
Open up the R/learning.R file now, which you will use to type in code for the code-along parts. You’ve already gotten a bit familiar with RStudio in the pre-course tasks, but if you want more details, RStudio has a great cheatsheet on how to use RStudio. The items to know right now are the “Console”, “Files”/“Help”, and “Source” tabs.
Code is written in the “Source” tab, where it saves the code and text as a file. You can send selected code to the Console from the opened file by typing Ctrl-EnterCtrl-Enter (or clicking the “Run” button). In the “Source” tab (where R scripts and Quarto files are shown), there is a “Document Outline” button (top right beside the “Run” button) that shows you the headers or “Sections” (more on that later). To open it you can either click the button, use the keybinding Ctrl-Shift-OCtrl-Shift-O or with the Palette (Ctrl-Shift-PCtrl-Shift-P, then type “outline”), go through the menu to Code -> Show Document Outline. The Command Palette is a very useful tool to learn, since you can easily access almost all features and options inside RStudio through it. Because of this reason, we will be using it a lot throughout the course. Open it up with Ctrl-Shift-PCtrl-Shift-P and then in the pop-up search bar, type out “document outline”. The first item should be the one we want, so hit Enter to activate the Outline.
If you can’t remember a specific keybinding in RStudio, check out the help for it by going to the menu item Help -> Keyboard Shortcuts Help.
One useful thing to do to make your R script more readable and understandable is to use “Sections”. They’re like “headers” in Word and they split up an R script into sections, which then show up in the “Document Outline”. We can insert a section using Ctrl-Shift-RCtrl-Shift-R or with the Palette (Ctrl-Shift-PCtrl-Shift-P, then type “code section”). You can also insert the sections through the menu Code -> Insert Section.
To more quickly type out objects in R, use “tab-completion” to finish an object name for you. Normally RStudio will start auto-completing for you as you type code, but you can manually trigger auto-completion with Tab. As you type out an object name, hit the Tab key to see a list of objects available. RStudio will not only list the objects, but also shows the possible options and potential help associated with the object.
Try it out. In the RStudio Console, start typing:
Console
colThen hit tab. You should see a list of functions to use. Hit tab again to finish with colnames(). This simple tool can save so much time and can prevent spelling mistakes.
If we want to get more information from data frames, we can use other functions like:
Console
# Column names
colnames(airquality)
[1] "Ozone" "Solar.R" "Wind" "Temp" "Month" "Day" # Structure
str(airquality)'data.frame': 153 obs. of 6 variables:
$ Ozone : int 41 36 12 18 NA 28 23 19 8 NA ...
$ Solar.R: int 190 118 149 313 NA NA 299 99 19 194 ...
$ Wind : num 7.4 8 12.6 11.5 14.3 14.9 8.6 13.8 20.1 8.6 ...
$ Temp : int 67 72 74 62 56 66 65 59 61 69 ...
$ Month : int 5 5 5 5 5 5 5 5 5 5 ...
$ Day : int 1 2 3 4 5 6 7 8 9 10 ...# Summary statistics
summary(airquality) Ozone Solar.R Wind Temp
Min. : 1.0 Min. : 7 Min. : 1.70 Min. :56.0
1st Qu.: 18.0 1st Qu.:116 1st Qu.: 7.40 1st Qu.:72.0
Median : 31.5 Median :205 Median : 9.70 Median :79.0
Mean : 42.1 Mean :186 Mean : 9.96 Mean :77.9
3rd Qu.: 63.2 3rd Qu.:259 3rd Qu.:11.50 3rd Qu.:85.0
Max. :168.0 Max. :334 Max. :20.70 Max. :97.0
NA's :37 NA's :7
Month Day
Min. :5.00 Min. : 1.0
1st Qu.:6.00 1st Qu.: 8.0
Median :7.00 Median :16.0
Mean :6.99 Mean :15.8
3rd Qu.:8.00 3rd Qu.:23.0
Max. :9.00 Max. :31.0
The code below is in some way either wrong or incorrectly written. What is wrong with it? You don’t need to understand what the code does, just comment on the readability and anything else that might come up.
# Object names
DayOne
T <- FALSE
c <- 9

# Spacing
x[,1]
x[ ,1]
mean (x, na.rm = TRUE)
mean( x, na.rm = TRUE )
height<-feet*12+inches
df $ z
x <- 1 : 10
These issues can actually be broken down into two categories:
Naming issues: This issue is harder to fix and comes with experience and knowledge. For instance, the T <- FALSE is wrong because T already exists and is a short hand for TRUE while c <- 9 is wrong because c is already the name of the function c(). You normally don’t want to name code based on something that already exists in base R (“naming conflicts” between packages is fine though, since there are ways to identify and fix that). These issues can only be fixed manually.
Styling issues: This is much easier to fix and can largely be done automatically.
Rather than manually editing code to fit a style, we can instead do it automatically. RStudio itself has a built-in automatic styling tool, found in the menu item Code -> Reformat Code. Let’s try this styling out together. Copy and paste the code above into the R/learning.R file. Don’t run this code, we’ll just edit it to improve the styling. After pasting it, run the “Reformat Code” menu item.
The tidyverse style guide also has a package called styler that automatically fixes code to fit the style guide. With styler you can style multiple files at once, one file at a time, or based on code you select and highlight. We will make a lot of use of styling the file we are working on instead. We can do that through the Palette (Ctrl-Shift-PCtrl-Shift-P, then type “style file”), which should show the “Style active file” option. You’ll try it out in the next exercise.
The thing to note, is that styler isn’t perfect, for instance, it can’t change objects that are named T or c to something else. But styler is a good starting point to manually fixing up your code.
Paste the code again and run styler on the file with the the Palette (Ctrl-Shift-PCtrl-Shift-P, then type “style file”). Fixes it for us!
A major strength of R is in its ability for others to easily create packages that simplify doing complex tasks (e.g. running mixed effects models with the lme4 package or creating figures with the ggplot2 package) and for anyone to easily install and use that package. So make use of packages!
For instance, a “metapackage” we will use throughout the course is called tidyverse, which we can load by writing this at the top of our script files:
Managing which packages our analysis depends on is covered in the intermediate and advanced courses. In this course, we will get you to write library() at the top of the file for each package that the file’s code depends on. Open up the R/learning.R file and add it to the top of the script.
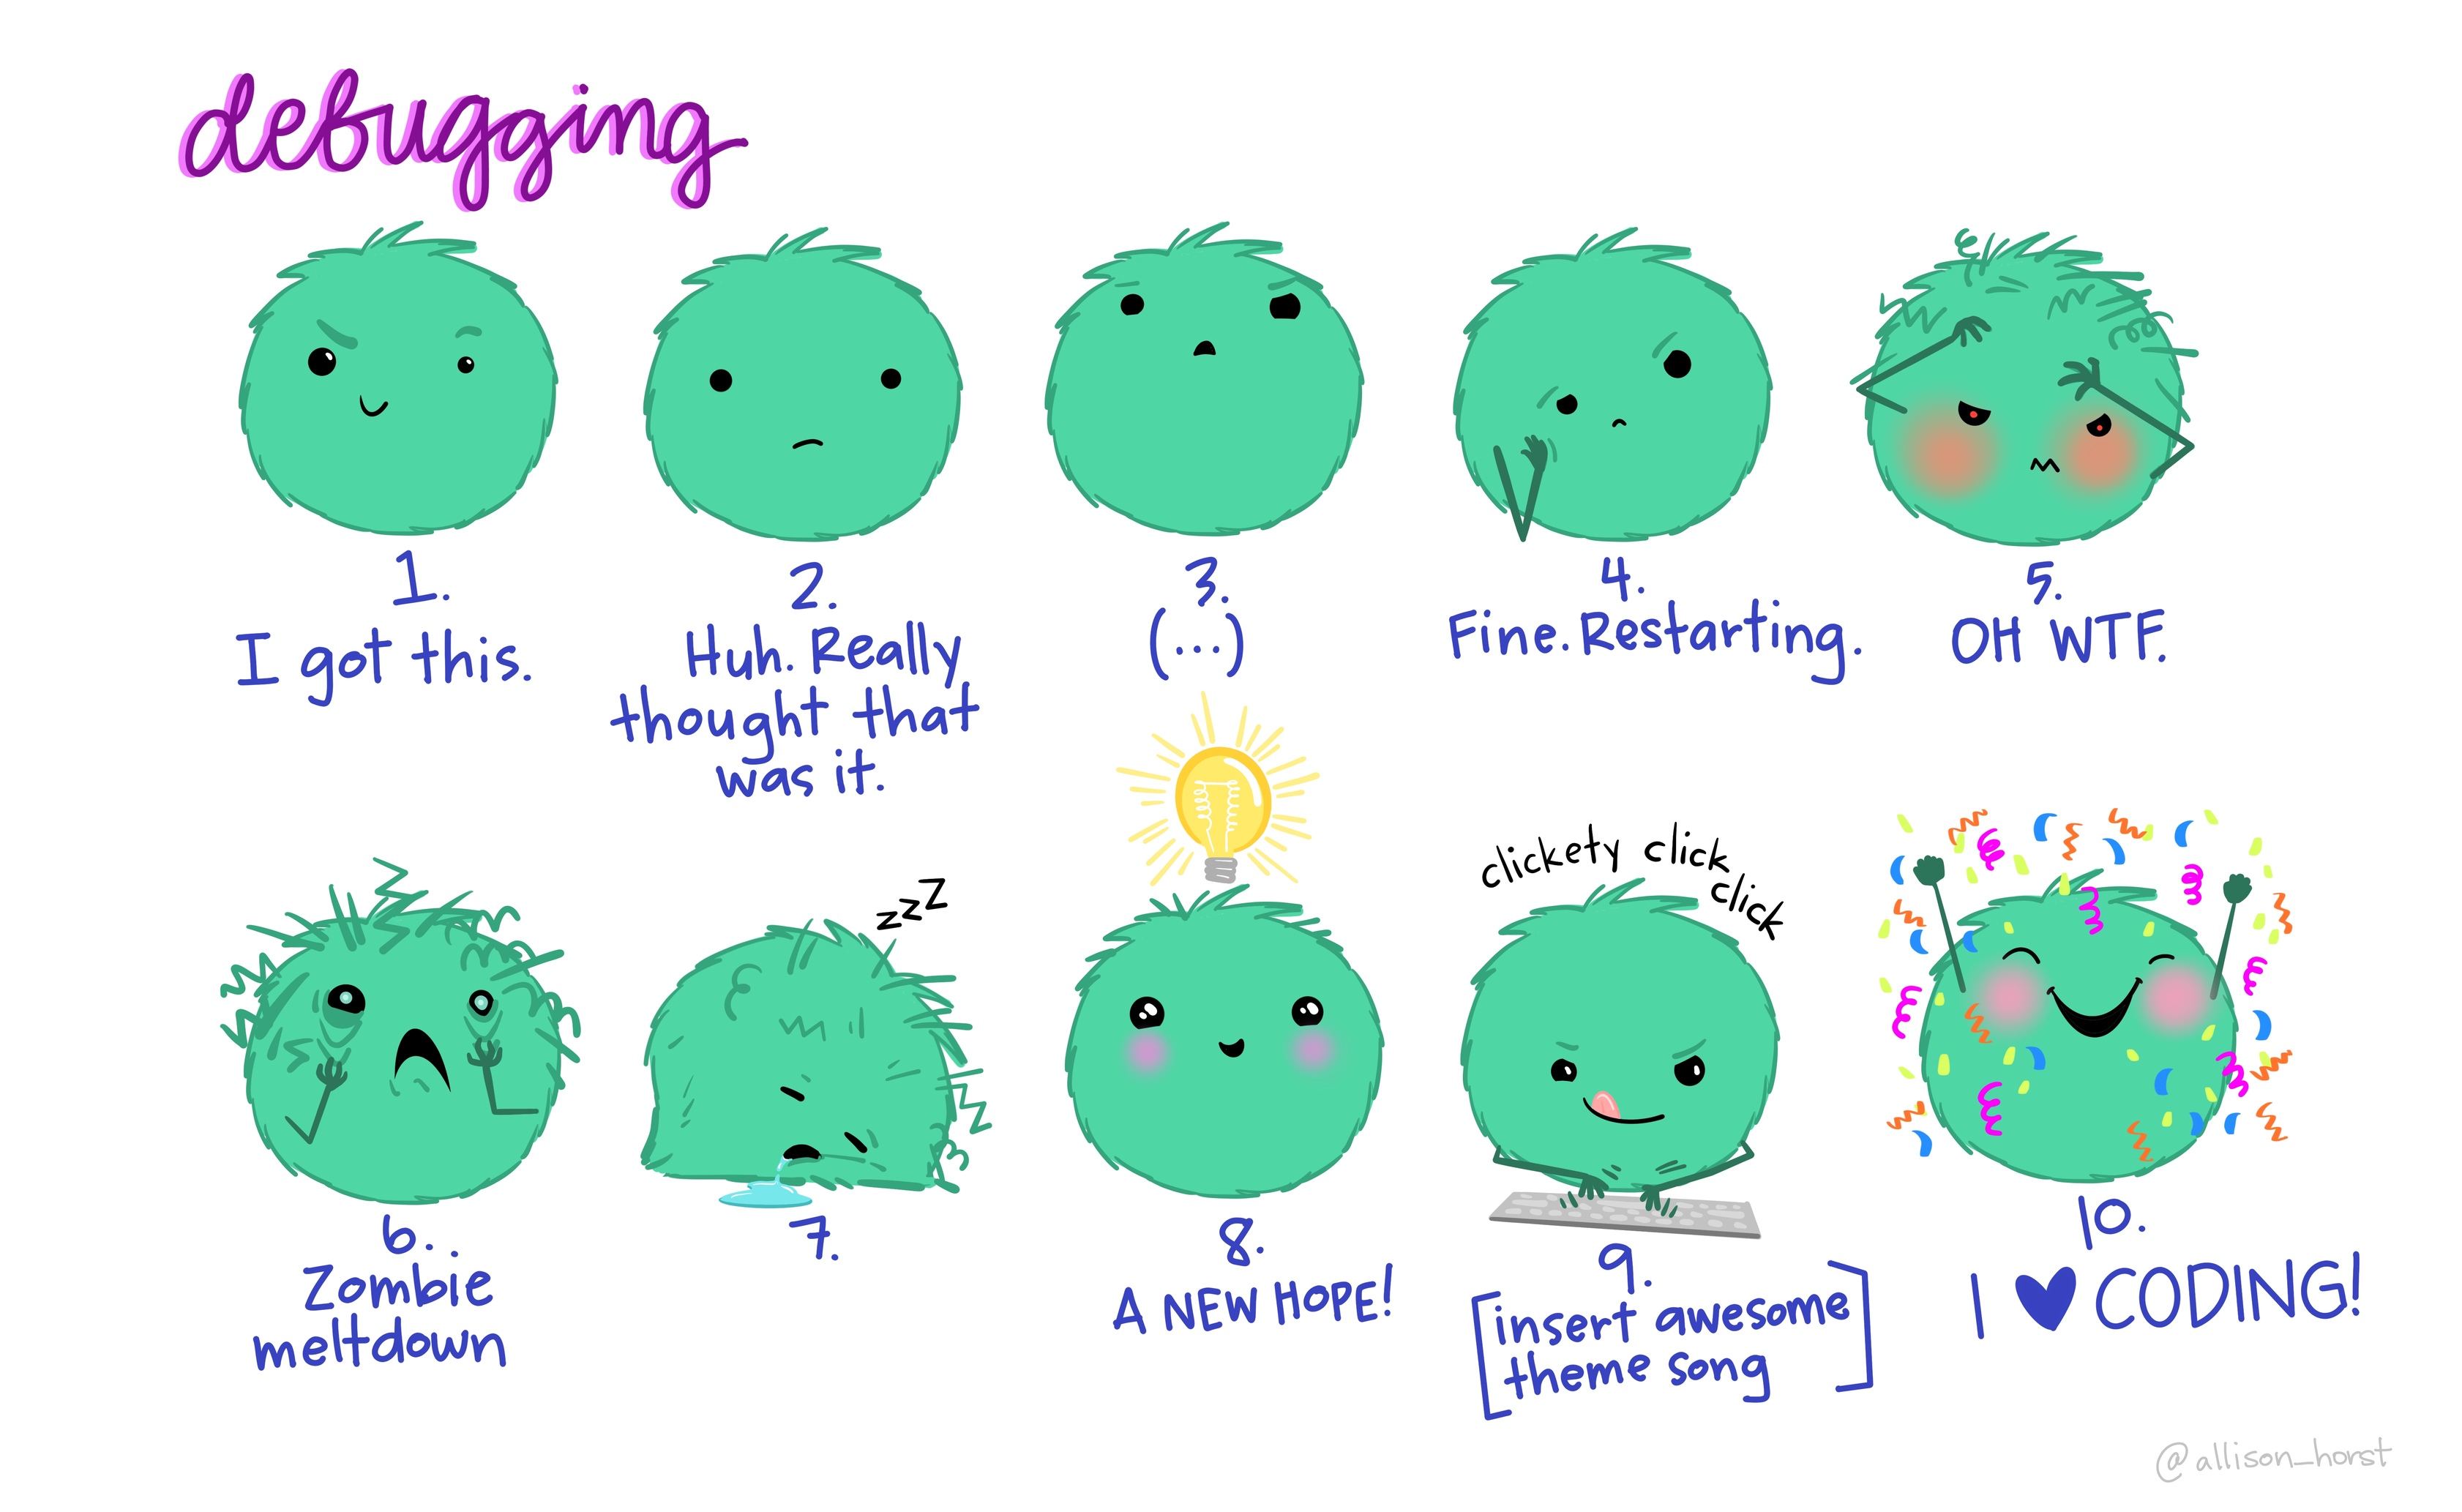
You will encounter problems and errors when working with R, and you will encounter them all the time. In fact, a large amount of your time in R will be spent figuring out solutions to these errors (“debugging”). For this course, we have a short cheatsheet that lists the tools and functions we will cover, which can help with problems forgetting function names or their usage. RStudio also has many cheatsheets of its own, which you can find with the Command Palette (Ctrl-Shift-PCtrl-Shift-P, then type “cheatsheet”). However, even with these cheatsheets, you will still encounter other problems like errors or warnings. Error messages will appear in red text in your Console and will start with the word “Error:”. Warning messages are also in red text, but are often either harmless or informative, so make sure to read the message and see if it says “Error” or not. Here are some initial steps to take when you encounter an error:
], ), or }?library() function.If you still can’t find the problem, here are some other steps to take:
Restart the R session with Ctrl-Shift-F10Ctrl-Shift-F10 or with the Palette (Ctrl-Shift-PCtrl-Shift-P, then type “restart”) or with the menu item Session -> Restart R. Then load your packages (and data if needed) and run the code from the beginning, tracking which objects get created, and if the proper object name is used later on.
(Rarely need to do) Close/re-open RStudio and try again.
Use help() or ? to access built-in documentation about a function or package. You may be using the function incorrectly, so find out more about the function by looking at the built-in documentation. The documentation will open up in the “Help” pane of RStudio (bottom right-hand corner). Try it out: Enter either of the following commands into the Console and run it (hit Enter).
Console
?colnames

help(colnames)
Sometimes, this documentation can be hard to read and seem overly complex for a beginner. You can also try finding the website for the package you are having trouble with, as they often have guides that are a little easier to understand. The tidyverse packages all have amazing documentation that you can use to help you with problems you may have.
Consider explaining the problem out loud to a colleague or friend. (or even a rubber duck!) You might find that, in verbally going through the problem and explaining it, you will likely come up with the solution yourself.
Take a break and come back to it later!
Google it. Chances are that someone has already encountered that error and has asked about it online. In fact, those who are “experts” in coding languages like R are experts largely because of their skill in knowing the right words or terms or questions to ask Google. Usually googling the error message will be enough to find the answer, but sometimes you’ll need to include “R” or “rstats” and the relevant package or function as a keyword in your search.
If all else fails, you can always turn to the trusty online R community. Check StackOverflow, a coding-related question and answer website, to see whether your issue has already been asked and solved by others. If it hasn’t and you are considering submitting a question, make sure to read the posting guides beforehand to ensure that you are asking the question in a helpful way.
Final words: It is important to always work towards writing “better” and “neater” code, as this can make it easier to break down pieces of code and troubleshoot problems. Ways to integrate this into your practice are to review documents like the tidyverse style guides regularly and perhaps join an online coding community.
Before ending, we’re going to set some RStudio options that will help you out a lot. Go to Tools -> Global Options... and do these tasks:
? to get help on an R object.